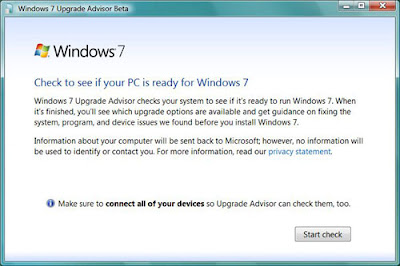
Download and run the Windows 7 Upgrade Advisor Beta before doing anything else; it will check your hardware to ensure compatibility and let you know about any potential problems you may encounter. You'll have to accept a User Account Control prompt before installing (and running) the tool, of course; the Upgrade Advisor will suggest a path to Windows 7, be it an upgrade or a clean install, and will test your CPU, RAM, hard drive, and graphics card to make sure they meet the minimum system specs:
Windows 7 Minimum Requirements
CPU 1 GHz or faster 32-bit (x86) or 64-bit (x64)
RAM 1GB RAM (32-bit) / 2GB RAM (64-bit)
Storage 16GB available disk space (32-bit) / 20GB (64-bit)
Graphics DirectX 9 GPU with WDDM 1.0 or later driver
I'm an enthusiast—and my PCs are backed up several ways—so I have no problem installing beta software. Even so, I'm leery of installing an unfinished operating system on my main PC—as should you be as well. For this reason, you'll probably find the Upgrade Advisor's section on "Programs" the most useful to you. Here's where you can see anything that may present problems for you; in my case, these consisted of Logitech's QuickCam software and an outdated copy of Corel's DVDCopy. If you see anything crucial, now's the time to think about replacing the software or figuring out some way to make it work.
If you're upgrading from Windows Vista or installing onto an older PC that you don't use often, I suggest you try out the Windows Easy Transfer Utility. It lets you migrate your files and system and app settings from that old PC to an external hard drive, network drive, or USB flash drive. Later on you can port all that data and customization back onto your new Windows 7 system. You can search for the Easy Transfer Utility on Vista's Start menu, or in XP find it under Accessories System Tools. The utility is pretty simple to muddle through, but for detailed directions, follow along with the step-by-step instructions on Microsoft TechNet.

No comments:
Post a Comment